🍫 Introduction: Why These Crunch Bars Are a Game-Changer
There’s something incredibly satisfying about biting into a crisp, chocolatey bar that snaps and crackles under your teeth. Enter the No-Bake Homemade Crunch Bars — a treat that blends simplicity, nostalgia and flavour in one go.
Maybe you remember the classic candy bars of your childhood: crispy rice cereal, smooth chocolate, that perfect crunch. But store-bought versions often include long ingredient lists, preservatives or higher sugar. What if you could recreate the same crunch, the same satisfaction, but at home, with simple ingredients, no oven involved? That’s exactly what this recipe offers.
In this article I’ll walk you through:
- Why this recipe works (texture, flavour, convenience)
- A fool-proof step-by-step method for making the bars
- Ingredients, substitutions & dietary versions (vegan, gluten-free, sugar-reduced)
- Storage, presentation & serving ideas
- Tips to get the best crunch and perfect bar every time
Whether you’re prepping for a kids’ snack, a grown-up treat, a party offering or just something to stash in the freezer — these bars check all the boxes. Let’s dive in.
🧐 Why This No-Bake Crunch Bar Recipe Works So Well
Texture: Crunch + Cream + Snap
The magic is in the contrast: crispy rice cereal gives the crunch; melted chocolate and peanut (or nut) butter provide creaminess and binding; no baking means you keep that crisp texture. As recipe testers note: “Crispy, crunchy, smooth, and creamy — texture lovers’ dream!”
Simplicity & Speed
Because no oven is needed, prep is minimal. One bowl, a few ingredients, 5-10 minutes of active time, then chill and slice. This makes the recipe accessible for busy households or when you need a treat fast.
Versatility & Customization
Whether you need vegan, gluten-free, nut-free or lower-sugar options — this template adapts easily. Swap the chocolate, skip or replace the peanut butter, pick a gluten‐free cereal — testers recommend many variations.
Nostalgia + Control
Recreating a beloved candy bar but making it at home means you control ingredients, sweetness level and size. You get the comfort of a childhood treat with the benefit of homemade goodness.
🛠️ Step-by-Step Recipe: How to Make These Crunch Bars
Yield: About 16–20 bars (depending on size)
Prep Time: ~10 minutes
Set/Chill Time: ~30–60 minutes
Ingredients
- 3 cups crispy rice cereal (or 4–5 cups rice-krispie style cereal)
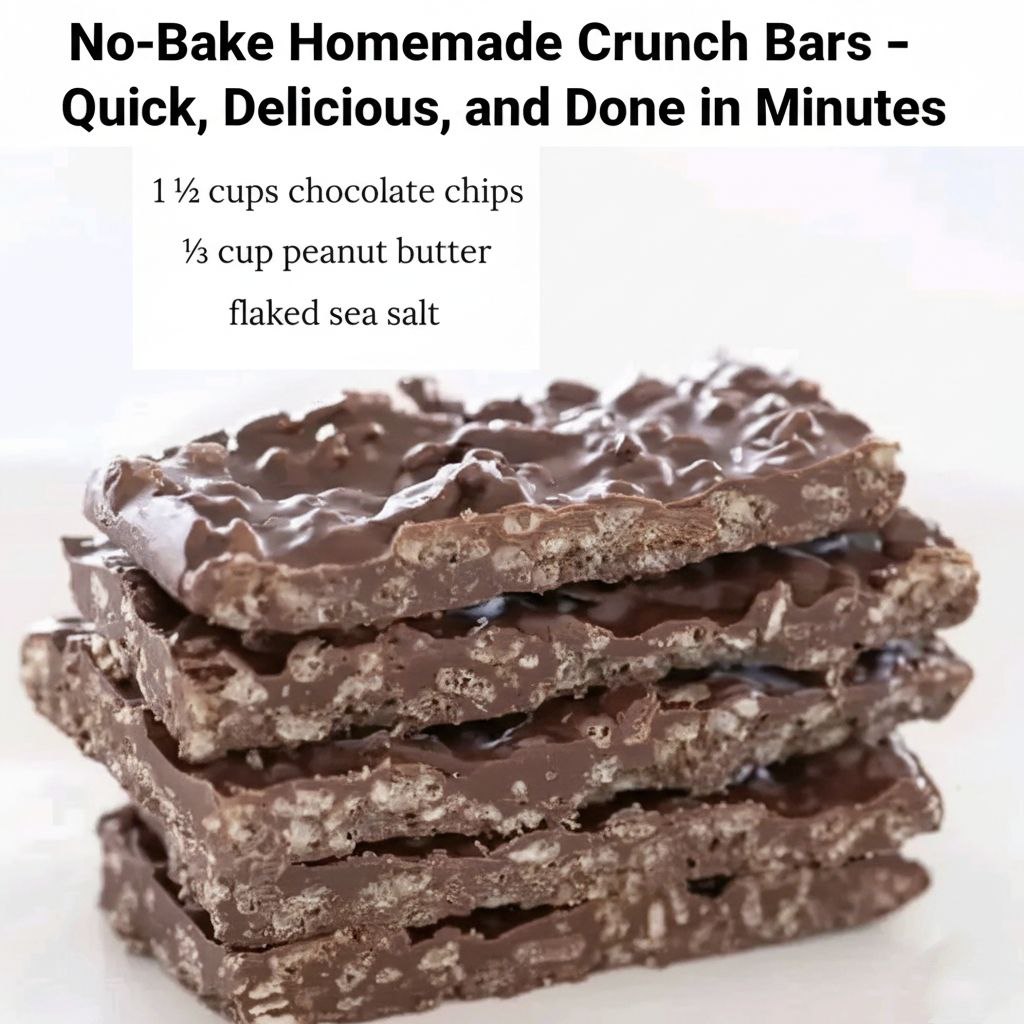
- 1½ to 2 cups chocolate chips (semi-sweet or dark)
- 1 cup creamy peanut butter (or your preferred nut/seed butter)
- ½ cup maple syrup or honey (optional, for binding & sweetness)
- ¼ cup coconut oil or butter (optional, for melt/smooth)
Optional add-ins: chopped nuts, sea salt flakes, dried fruit, drizzle of white chocolate
Substitutions & Dietary Tweaks
- Vegan: Use dairy-free chocolate chips, maple syrup (instead of honey), coconut oil.
- Gluten-free: Ensure cereal is certified gluten-free (many rice crisp cereals are not).
- Sugar-reduced/Low-carb: Use sugar-free chocolate or cocoa + sweetener, and swap cereal with crushed nuts/seeds.
Instructions
- Line your pan: Prepare an 8×8 or 9×5 inch loaf pan (or similar) with parchment paper.
- Melt chocolate mix: In a microwave or double boiler, combine chocolate chips + peanut butter + coconut oil (if using). Heat in 30-second intervals, stirring until smooth.
- Combine cereal: Place rice cereal in a large mixing bowl. Pour the melted chocolate-nut butter mixture over the cereal. Stir until all pieces are evenly coated and the cereal is fully covered.
- Press into pan: Transfer the mixture into the prepared pan. Press down firmly with a spatula so the mixture is compact and even.
- Chill to set: Place the pan in the fridge (or freezer) for about 30–60 minutes until firm.
- Slice and serve: Once set, lift the parchment paper out, cut into bars of desired size (fun-size, regular, squares).
- Optional finish: Drizzle melted white chocolate, sprinkle sea salt or chopped nuts on top for extra flair.
[Insert Screenshot Here: mixing bowl with cereal & chocolate mixture]
[Insert Screenshot Here: pressed bars in pan ready to chill]
[Insert Screenshot Here: cut bars arranged on parchment or platter]
🍽️ Serving & Storage Tips
- Serving: Serve cold or room temperature. For a softer bite, allow the bar to sit at room temp for 5 minutes before eating.
- Storage at room temp: Store bars in an airtight container in a cool, dry place. Best for up to 1-2 days if room temp is warm.
- Refrigerator storage: Place in airtight container or wrap individually; keeps well for up to 2 weeks.
- Freezer storage: Wrap individual bars in parchment and place in freezer bag. Freeze for up to 2–3 months. Thaw for a few minutes before eating.
- Transport/gifting: Use parchment-wrapped bars in decorative bags or tins — great for holidays, parties or snack tables.
🎨 Variations & Creative Twists
- Peanut butter & sea salt crunch bars: Add ½ teaspoon sea salt on top before chilling.
- Almond joy style: Use dark chocolate, almond butter, add chopped almonds and shredded coconut.
- Mint chocolate: Use dark chocolate with ¼ teaspoon peppermint extract and top with crushed candy canes (seasonal).
- Nut-free version: Use sunflower seed butter or tahini instead of peanut butter.
- Protein boost: Stir in a scoop of unflavoured protein powder (optional) and adjust sweetness.
- Candy drizzle: Once set, drizzle white chocolate or caramel and refrigerate briefly to firm the drizzle.
- Mini-bites: Instead of bars, press mixture into mini muffin tray for fun “bite-sized” versions.
📋 Tips for Perfect Results Every Time
- Use high quality chocolate: Better chocolate = smoother melt, better flavour.
- Ensure cereal is crispy and dry. Moist cereal will reduce crunch.
- Press firmly into the pan so bars hold shape and slices clean.
- Allow enough chill time before slicing — bars cut better when fully set.
- Use a sharp, non-serrated knife, wiping clean between cuts for neat edges.
- Store properly — warm temperatures soften bars.
- If making a larger batch, use a bigger pan and increase chill time.
🧠 Why You’ll Love Making These Crunch Bars
- Quick and fun: A 10-minute prep and you’re done.
- No-bake = no oven heating up the kitchen. Perfect for hot days or spontaneous baking.
- Flavor satisfaction: Chocolate, crunch and texture — exactly like a candy bar, but homemade.
- Healthier control: You decide the chocolates, sweeteners, additions, dietary tweaks.
- Impressive for guests: Homemade bars look and taste like you put in effort — but with minimal time.
- Great for stash or snacks: Make a batch and have ready treats for weeks.
✅ Final Thoughts: Make, Enjoy, Repeat
The next time you crave something crunchy, chocolatey and satisfying — resist the chip bag and instead head to the kitchen. With just a few ingredients, minimal effort and zero baking, you’ll create something better than the store-bought version. Serve them up, share them around, stash them in the freezer — these No-Bake Homemade Crunch Bars will become a go-to treat.
You’ve got this. Grab your cereal, chocolate and peanut butter — mix, press, chill and slice. Crunch bliss awaits. 🍫✨