🧼 Introduction: The Grease Never Sleeps — until You Stop It
If you’ve ever stared at your stove after dinner — crusted-on bits of oil, splatters from yesterday’s sauté, rings around the burner you just can’t shift — you’re not alone. Grease builds up quietly, making your shiny stovetop look dull, sticky, and in desperate need of a deep clean.
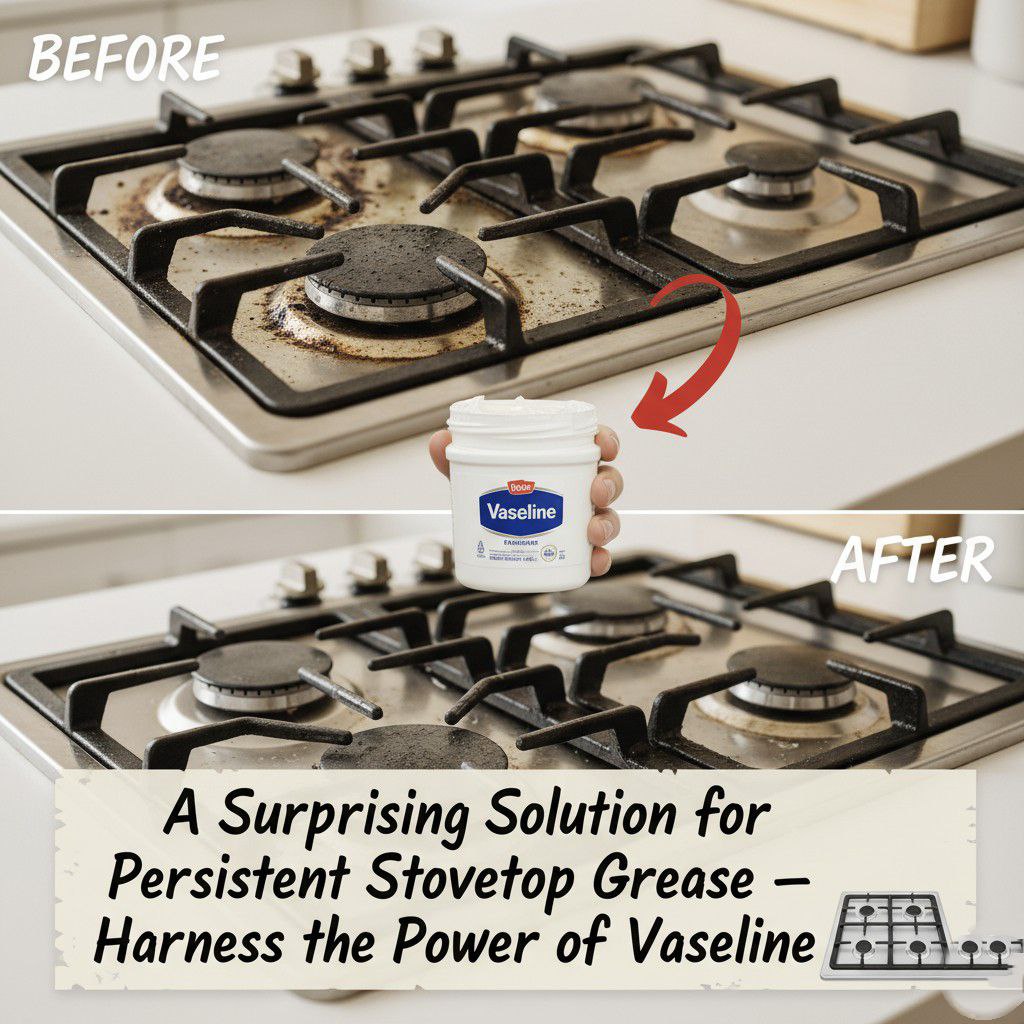
What if I told you the secret weapon for tackling that persistent grease wasn’t a harsh chemical, a scrub pad, or a full-blown cleaning overhaul? Instead, it might just be sitting in your bathroom cabinet: Vaseline. That’s right — the same petroleum jelly used for dry skin and simple first aid can be your stovetop’s best friend. According to cleaning-hack sources, rubbing a thin layer of Vaseline on a clean, dry stovetop can help polish the surface, repel future grease, and make clean-up much easier next time.
In this guide you’ll discover:
- Why traditional scrubbing fails against stovetop grease
- How Vaseline works its magic on kitchen surfaces
- Step-by-step method for cleaning your stovetop with Vaseline
- Tips for maintaining the shine and preventing future buildup
- Safety notes and common mistakes to avoid
Ready to make your stove sparkle like new? Let’s dive in.
🧬 Why Stove-Top Grease Is So Stubborn
1. Oil + Heat = Bonded Film
When you cook with oil, fat molecules can splatter and land on the stovetop. The heat causes them to oxidize and polymerize (turn into a hardened film) which sticks to metal, glass, and enamel surfaces.
2. Microscopic Roughness
Even a clean surface has tiny irregularities. Grease settles into the microscopic valleys and becomes hard to remove with ordinary wiping.
3. Residual Layers
One layer of grease makes it easier for the next layer to stick. Over time, you get a thick, sticky coating that rubs off only with heavy scrubbing—or so you thought.
4. Wrong Cleaner or Scrubber
Many people spray degreaser, wait a minute, wipe—and still see streaks or smeared film. Why? Because the underlying surface isn’t smooth and polished—it still has tiny grease residues. When the next meal splatters, the film absorbs it.
So to get real results, you need more than just cleaner: you need a barrier, polish and surface refinement. That’s where petroleum jelly comes in.
🔍 Why Vaseline Works — The Science Explained
Yes, it sounds odd. But here’s what Vaseline (petroleum jelly) actually does for your stovetop:
- Creates a smooth, sealed layer: By filling in microscopic imperfections, it creates a slick surface that prevents grease from bonding as easily.
- Attracts and loosens old grease: When applied after cleaning, a slight amount of jelly can soften any residual film, making future cleaning easier.
- Polishes the surface: It leaves a light sheen, enhancing the appearance of metal or glass.
- Acts as a light protective barrier: It reduces friction, so when your next spill occurs, it wipes off more cleanly.
Important note: It’s not a cleaning product alone—it’s a finisher and protector. You still need to clean first, then apply.
🧴 Step-by-Step: How to Use Vaseline to Clean & Protect Your Stovetop
🧹 Materials You’ll Need
- Petroleum jelly (brand like Vaseline)
- Microfiber cloths (2 or 3)
- Warm water & mild dish soap
- Optional: steel wool (#0000 grade) for very stubborn spots (only if surface allows)
- Oven mitts or heat-resistant gloves
- Ventilation (open window)
🔥 Instructions
- Cool Down the Stove
Make sure the stovetop and burners are completely cold and switched off. Safety first. - Deep Clean First
Use warm water + dish soap to remove any fresh grease. Wipe thoroughly and dry.
If you have bonded grease spots, you can gently use steel wool (#0000) on safely rated surfaces—but be sure your stovetop allows it. - Ensure Surface is Dry
Oil and Vaseline do not spread well on damp surfaces. Use a dry microfiber cloth to wipe until completely dry. - Apply a Thin Layer of Vaseline
- Take a small pea-size amount of petroleum jelly on a microfiber cloth.
- Gently rub it over the entire stovetop surface (excluding heating elements if electric plate).
- Use slow, even strokes until the surface has a subtle sheen—avoid leaving visible jelly globs.
- For glass or stainless surfaces, buff with a second clean dry cloth to remove excess and enhance shine.
- Close the Cap & Wait
Let the layer sit undisturbed for at least 10 minutes. This gives the film time to bond and polish. - Final Buff
Use a clean dry microfiber cloth to buff the surface again. The stovetop should look glossy, with no streaks or leftover jelly. - Enjoy Easier Cleaning Next Time
After your next cooking session, you’ll likely find that spills wipe off quickly—no heavy scrubbing needed.
[Insert Screenshot Here: Person applying small amount of Vaseline to stovetop with microfiber cloth]
🌟 What You’ll Notice & When
Immediate Effects
- The stovetop looks cleaner, shinier, and smoother.
- Grease stains and splatters feel less “stuck” and more easily wiped.
- Light reflection on surface improves—so your kitchen feels brighter.
With Consistent Use (3-4 weeks)
- Less frequent heavy scrubbing required.
- The stove remains in better condition—less corrosion or discoloration.
- Overall kitchen cleanup time reduces.
🧺 Maintenance Tips to Keep the Shine
| Maintenance Habit | Benefit |
|---|---|
| Wipe daily with damp microfiber cloth | Prevents layer of new grease deposit |
| Reapply Vaseline once a month | Restores protective sheen |
| Avoid abrasive cleaners on top coated surfaces | Maintains smooth finish |
| Clean the burners and knobs separately – apply small Vaseline dab afterward | Keeps knobs clean and shiny too |
⚠️ Safety & Precautions
- Heat caution: Keep the Vaseline layer away from direct flame or exposed elements over ~400 °F (204 °C). The jelly itself is not highly flammable, but you want minimal film near burners.
- Use minimal amount: Too much jelly = greasy feel and might attract dust.
- Surface compatibility: On glass-ceramic or induction surfaces, use the gentlest cloth and micro-grade if needed.
- Not a substitute for cleaning: It’s a finish/protect layer—not a degreaser. Always clean first.
- Food safety: Don’t apply Vaseline on cooking surfaces where food touches (e.g., inside oven trays). Use only on the external stovetop surface.
🎨 Variations & Extensions for the Kitchen
- Appliance finish: Use the same method on toaster surfaces, range hood trim, stainless fridge doors—to give all your appliances a consistent polished finish.
- Leather chairs or stools: Rub a little jelly for maintenance shine (not food service areas) — studio hack.
- Faucets & knobs: Tiny pea-sized dab under knob edges to ease wiping and reduce finger-mark buildup.
💬 Real-Life Story
“I tried this Vaseline hack after weeks of scrubbing burnt-on messes. Two days later I spilled tomato sauce and it wiped off in 5 seconds—no towel soak, no scrub. It’s wild.” – one online DIY user quote.
Many kitchen-cleaning fans call it one of the “magic hacks” that actually deliver—not just hype.
🧠 Final Thoughts: Smarter — Not Harder
Cleaning shouldn’t always be sweat, elbow grease, and frustration. By applying a small finishing step (Vaseline) after a thorough clean, you transform the stovetop into a slick, protected surface.
That means less future scrubbing, less stubborn grease, and more time for cooking or relaxing.
So tonight, give your stove that little extra. Clean it well, apply the thin layer of jelly, buff it up—and enjoy the difference.