🧽 Introduction: The Forgotten Pantry Hero for Sparkling Tiles
When it comes to cleaning tiles, most of us reach for commercial cleaners, scrubbing brushes and expensive treatments. But what if I told you that a common kitchen staple — baking soda — could clean and shine your tiles, often more effectively and with less cost and chemical exposure?
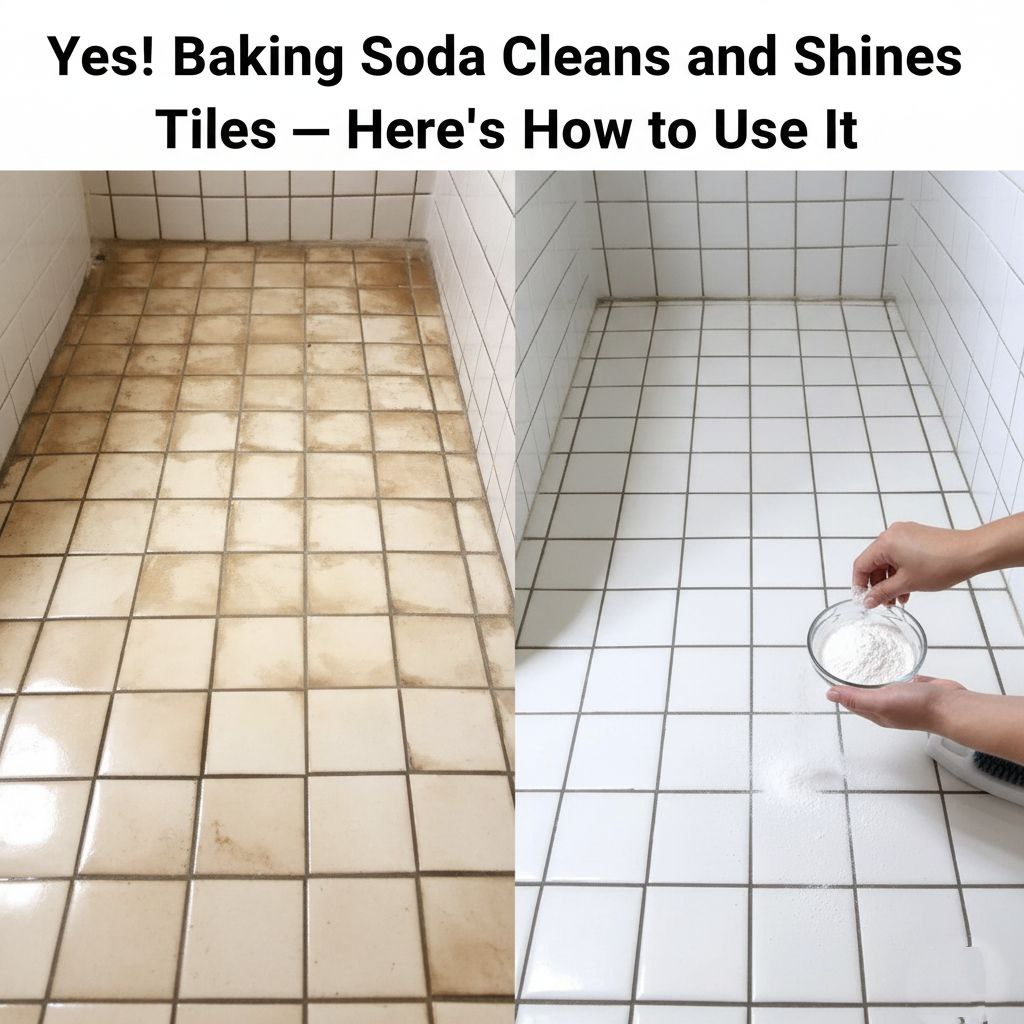
Yes, baking soda (also called sodium bicarbonate) may be one of the best under-used cleaning helpers for tile floors, walls and grout. In this article I’ll walk you through why baking soda works so well for tiles, how to use it safely and effectively, with step-by-step instructions, where it works best (and where it doesn’t), and tips & maintenance to get long-term results. Let’s get your tiles gleaming.
📊 Why Baking Soda Works on Tiles
Mild Abrasive & Odour Neutraliser
Baking soda acts as a gentle abrasive—enough to help lift dirt and grime from tile surfaces and grout lines without scratching most glazed ceramics or porcelain. It also neutralises odours and helps reduce built-up residue that makes tiles look dull.
pH-Neutral to Slightly Alkaline
Most tiles (especially glazed ceramic or porcelain) are fairly resilient to slightly alkaline solutions. Baking soda, with its mild alkalinity (around pH 8), can help loosen greasy films and soap scum that acidic cleaners might leave behind. But care is still needed on natural stone or unsealed surfaces.
Cost-Effective & Non-Toxic
Unlike harsh chemical cleaners, baking soda is inexpensive, widely available and safer for households with children, pets or sensitive to strong cleaners. It’s a great choice for routine cleaning and periodic deep-cleans.
🔧 How to Use Baking Soda on Tiles — Step by Step
Here’s a practical guide to using baking soda to clean and shine your tiles.
What You’ll Need
- Baking soda (sodium bicarbonate) — ½ to 1 cup for floors, less for walls or smaller areas
- Warm water
- Bucket or spray bottle (depending on method)
- Microfiber mop or soft-bristle broom/brush
- Optional: white vinegar (for certain grout or tile types)
- Optional: grout brush or old toothbrush
Preparation
- Remove furniture, rugs and debris from the tile area.
- Sweep or vacuum to pick up loose dust, sand or grit—this prevents scratching while cleaning.
- Fill a bucket with warm water (for floor cleaning) or fill a spray bottle with water if doing smaller surfaces/walls.
Cleaning Method: Floor Tiles
- In the bucket of warm water, dissolve about ½ cup of baking soda per 4 litres (~1 gallon) of water.
- Soak your microfiber mop in the solution, wring out excess water (you want damp, not soaking).
- Mop the floor thoroughly, working in sections. Pay extra attention to high-traffic areas and grout lines.
- If you notice stubborn grime or greasy patches, sprinkle a little dry baking soda directly on the spot, then use the damp mop or a soft brush to scrub gently in circular motions.
- After mopping, rinse the floor with clean warm water (no baking soda) to remove any leftover residue.
- Let the floor air dry or wipe with a dry microfiber cloth for a streak-free finish.
Cleaning Method: Wall/Tiled Backsplash or Shower
- Make a paste: Mix about 2 tablespoons of baking soda with a few teaspoons of water until you have a thick, spreadable paste.
- Apply the paste directly to the tile surface or grout lines.
- Let the paste sit for 5-10 minutes to allow it to loosen grime.
- Use a soft-bristle brush or cloth to scrub gently.
- Rinse thoroughly with clean water and dry the surface with a microfiber cloth.
Optional Boost: Baking Soda + Vinegar for Grout or Stubborn Areas
While some sources caution mixing baking soda and vinegar because they neutralise each other chemically, using them in sequence (not always together) can help for tough grout.
- After scrubbing with baking soda paste, spray a diluted vinegar-water solution (½ cup vinegar in 4 litres water) over the area. Let it fizz and loosen leftover residue, then rinse well.
- Important: Avoid this on natural stone tiles (marble, granite) because vinegar (an acid) can damage sealants.
📅 Recommended Routine & Maintenance
| Task | Frequency | Purpose |
|---|---|---|
| Basic tile mop (baking soda) | Weekly or every 2 weeks | Keep floor clean and bright |
| Spot scrub with paste | Monthly | Tackle grout lines or high-traffic wear |
| Rinse with clear water | After each cleaning | Prevent buildup of baking soda residue |
| Deep clean with paste + optional vinegar | Every 3-6 months | Refresh grout and remove embedded grime |
By sticking to this routine, you’ll see gradual improvement in tile brightness and floor finish—with less effort and fewer harsh chemicals than you might use now.
⚠️ What to Watch Out For — Mistakes & Limitations
- Not for natural stone or unsealed tile: Baking soda (or especially combined with vinegar) can strip finishes or damage sealants on marble, slate, etc.
- Avoid excessive force: Even mild abrasives can scratch or dull glazed surfaces if scrubbed too hard. Use soft brushes.
- Don’t leave residue: If you don’t rinse well after cleaning, a fine baking-soda film may remain and attract dirt.
- Don’t over-mix with vinegar simultaneously: They react and neutralise each other, reducing effectiveness. Use sequencing or sticking to one.
- Avoid frequent full wet cleaning on grout if the grout is unsealed or old: Water infiltration may cause damage or mould.
- Test first in a small area: Especially if tile finish is unknown or old.
💡 Customisation & Pro Tips for Better Results
- For extra shine: After cleaning and rinsing, you can dry the floor using a microfiber cloth and a spray of water with a drop of dish soap for a subtle gloss.
- For tiled kitchen backsplash: Use the paste method then polish with a soft dry cloth for reflective finish.
- For grout darkening: After cleaning, apply a grout sealant or even clear nail polish (for small areas) to prevent future staining.
- Use warm (not hot) water: Hot water may loosen grout or crack certain tiles.
- Ventilate while cleaning: Especially for bathrooms—reduces moisture and helps drying.
- Use floor-mats and rugs: Place mats at entries to reduce grit and sand that scratch tile surfaces.
🌟 Why You’ll Love the Results
- Tiles will appear cleaner, brighter and less “dull” from dirt-film.
- Towels, bare feet and sunlight will highlight the improved tile finish.
- You’ll save money (baking soda is cheap), reduce chemical usage, and feel good about using safe, simple ingredients.
- The longer-term tile condition improves—less buildup means less wear-and-tear.
- It becomes a go-to routine that you don’t dread: “Oh no—tiles again!” but instead “Tiles sparkle, done.”
🔎 Before You Start – Quick Checklist
- Clear the cleaning area of furniture/rugs
- Sweep or vacuum loose debris
- Choose tile type and check suitability (avoid sealed stone)
- Gather baking soda, mop or brush, warm water, bucket
- Optional: white vinegar (for grout boost)
- Test in small inconspicuous area
- Wear gloves if you have sensitive skin (though baking soda is mild)
- Rinse completely and dry afterward
Cleaning your tiles doesn’t have to mean harsh chemicals, big price tags or dread. With a simple ingredient like baking soda—and a proper routine—you can clean and shine your tile surfaces, maintain them better, and extend their life.
Take the 10–15 minutes this week, tackle your tile floor or wall with the method above, and enjoy that “just cleaned” look that lasts longer. Over time, the habit pays off: bright tiles, less stain-worry, safe cleaning.
So yes—baking soda is a real hero in tile cleaning. Use it right, rinse it right, and your tiles will thank you by looking better than ever. Happy cleaning! 🧼✨